So, I had a spare, official Windows 7 Pro key that was never installed on the intended laptop. I was thinking that it was a good chance to install it on KVM…
So, what was supposed to be a straight-forward “new VM” + “install Windows 7” + “Windows 10 upgrade” turned into another headache…
Fortunately (and probably yet another reason to stick with the “tried-and-tested”/popular VM solutions), KVM has a “large enough” community, with lots of help online…
Idiosyncrasies…
Snag #1: Paths and Permissions
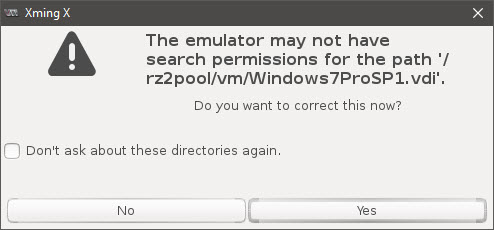
As I attempted to create a new VM, it kept prompting me that the permissions for the various paths (ISO, virtual hard drive aka “volume”) was incorrect, but letting virt-manager “fix” things would break the SAMBA share permissions, so I ended up having to manually correcting them:

chgrp kvm /rz2pool/vm
chmod -R o+rx /rz2pool/archive/ISO/
chmod -R g+rw /rz2pool/vm/<virtual HDD file>
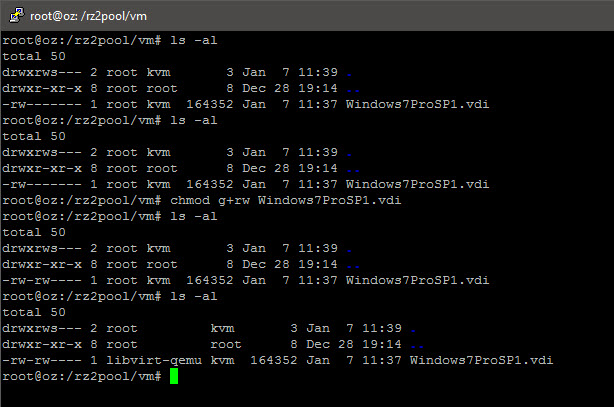
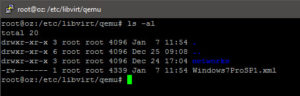
The insistence of libvirt-qemu on taking user and group ownership of ISO files is just plain stupid; I hope this gets fixed soon. The image below shows several directory listings of the virtual hard drive (.vdi for VirtualBox compatibility in this case) – note the last listing which shows the VM running (and libvirt-qemu has wrested user and group ownerships, despite the “kvm” group already having read+write permissions.
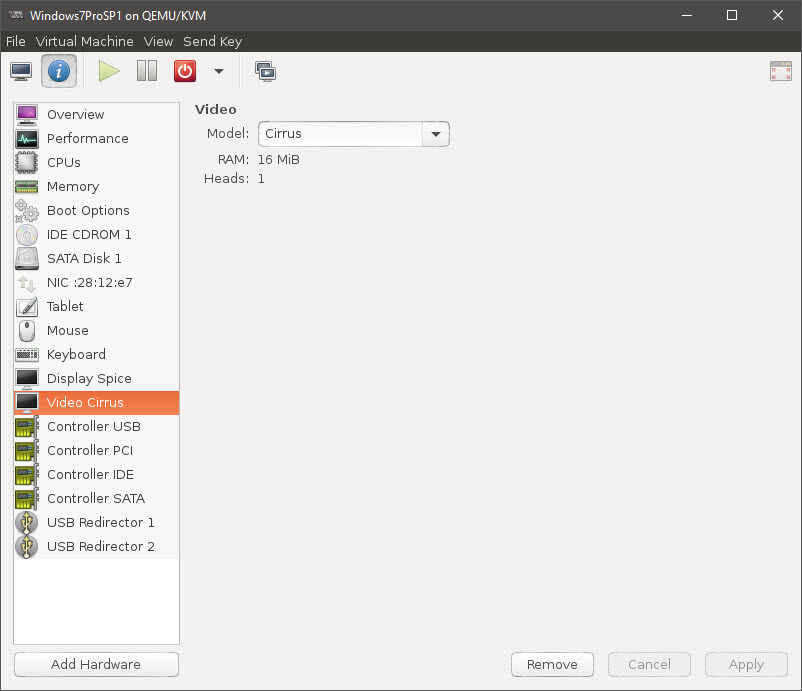
Snag #2: Virtual Display Hardware
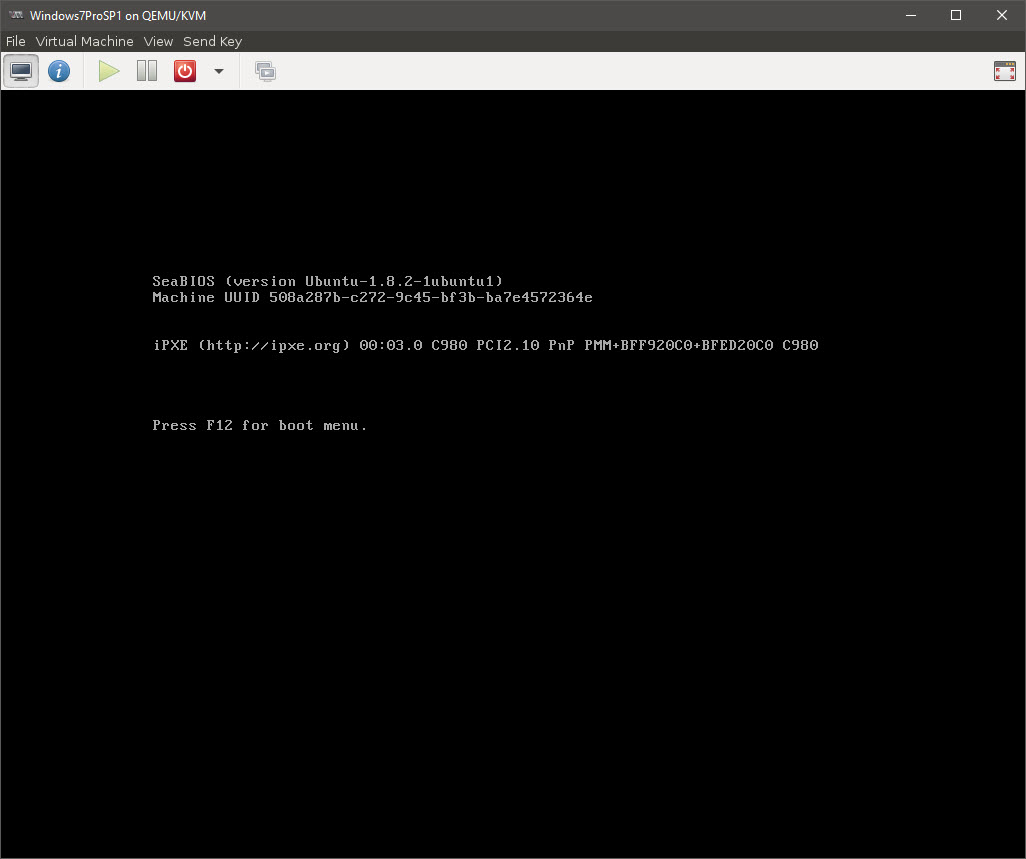
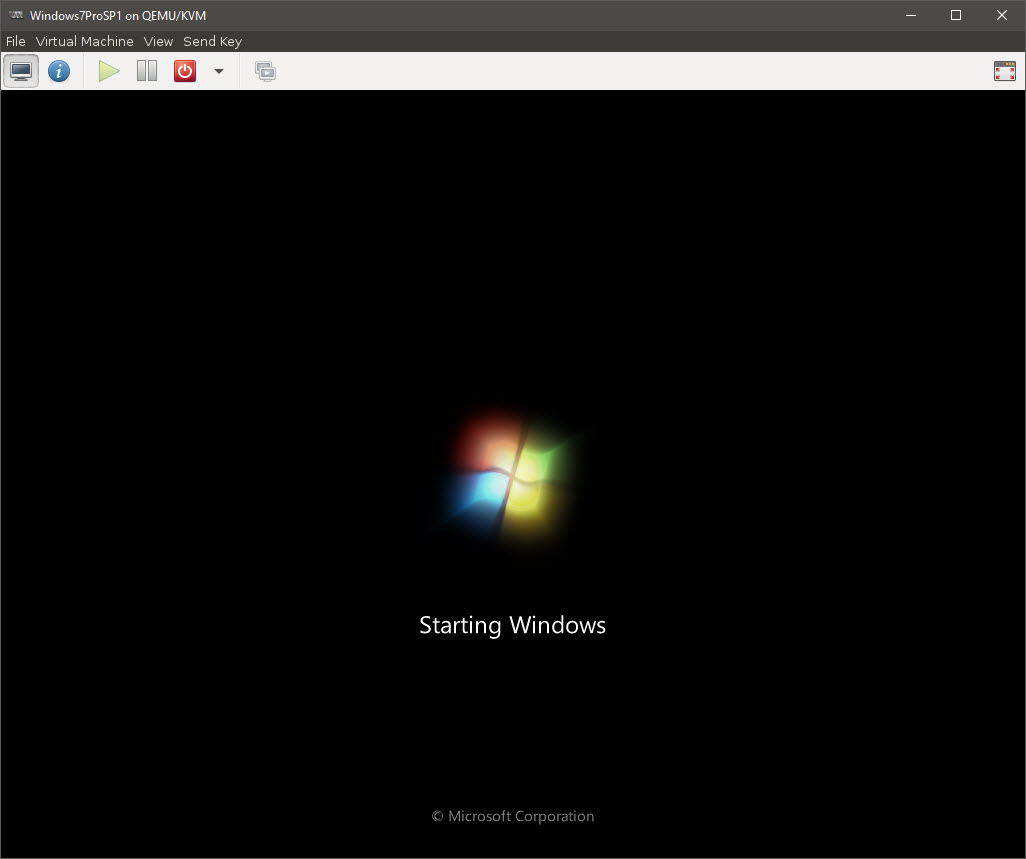
I happily started the VM, “connected” to the ISO… And then stared at the “Starting Windows” animation for a full 15 minutes before deciding that something was wrong.
It appears that it is a “known bug“, and the solution is to set the display to emulate a “Cirrus Logic” adapter (default being “QXL”). I tried using “VGA” and that did not work either…
Snag #3: Reported Issues with Windows 10 Upgrades
I tried to “be prepared” and researched upgrading Windows 7 to Windows 10 on a KVM VM, and came up with the requirements:
- use a virtual CPU “ID” of “core2duo”
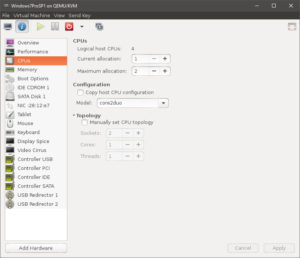
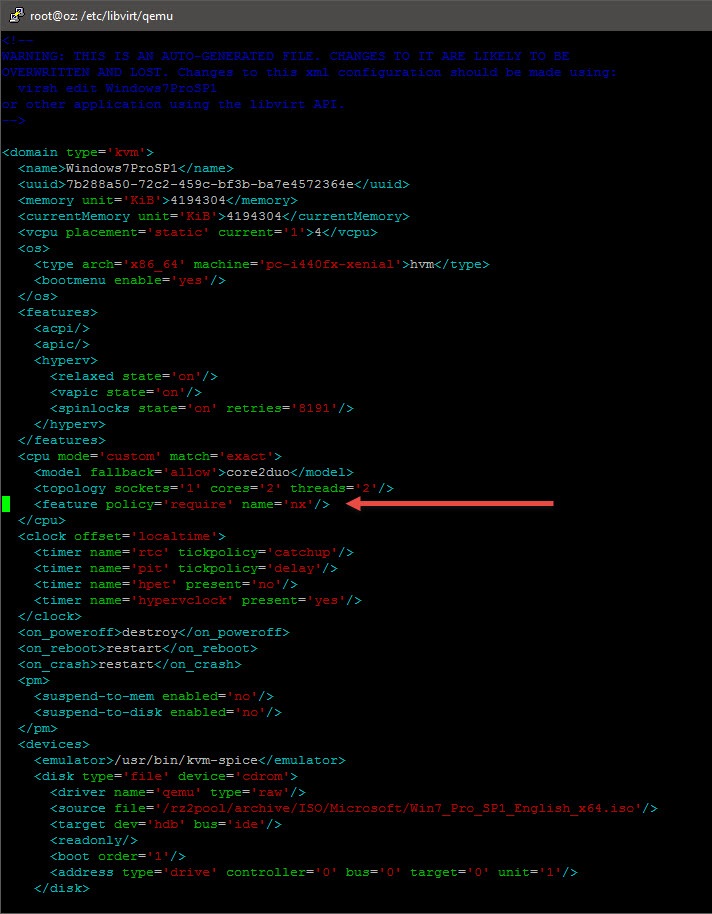
- set the “nx” flag/bit
- after stumbling about for awhile, I figured out:
- virt-manager does not support custom entries
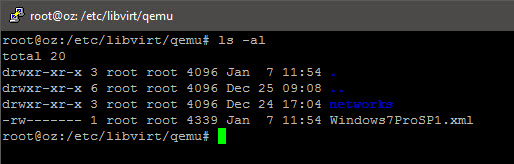
- the location of the configuration files (i.e.
/etc/libvirt/qemu)
- therefore, editing the file and adding in the required
<feature policy='require' name='nx'/>
string resulted in:
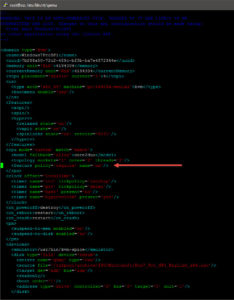
- NOTE: this hand-edit will be over-written every configuration change from
virt-manager; therefore, make the change when the VM is off, just before you attempt to upgrade to Windows 10
- after stumbling about for awhile, I figured out:
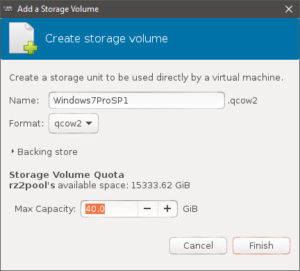
- use a virtual HDD with at least 40GB space
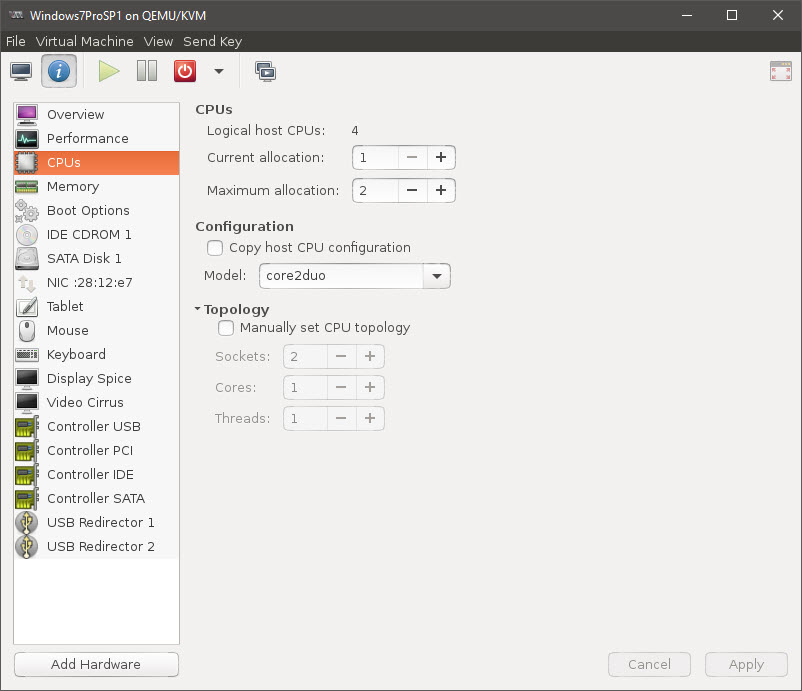

Just to retain maximum compatibility with other VM host software (e.g. Virtualbox/VMware), I also changed the vNIC to emulate an “E1000” (but had to retain all the “extra” hardware e.g. “Virtio Serial” controller, “Display Spice” display mirror, etc. – otherwise you will not get a display console through virt-manager).
Snag #4: Snapshots
Weird issues not withstanding, I had to “rebuild” the virtual HDD when I finally found out that virt-manager only supports libvirt’s in-built “snapshotting” via the qcow2 format. So, it was back to .qcow2 HDD files…
Snag #5: Optical Drive
This is more an irritation than any “show-stopper”. If you have an optical drive, you must assign either a real ISO or attach to a real device.
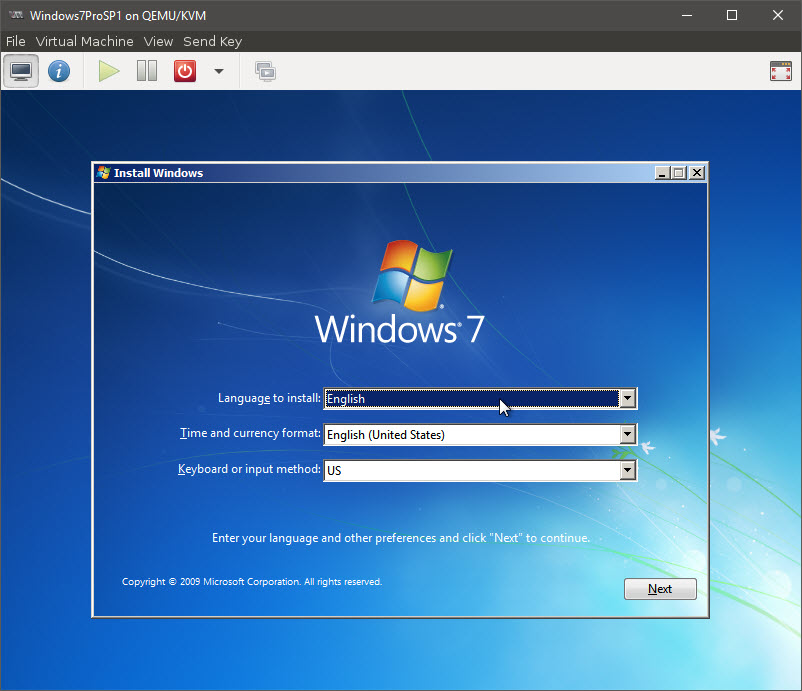
Installing Windows 7…
So, with everything in hand, it was now time to try and install Windows 7…

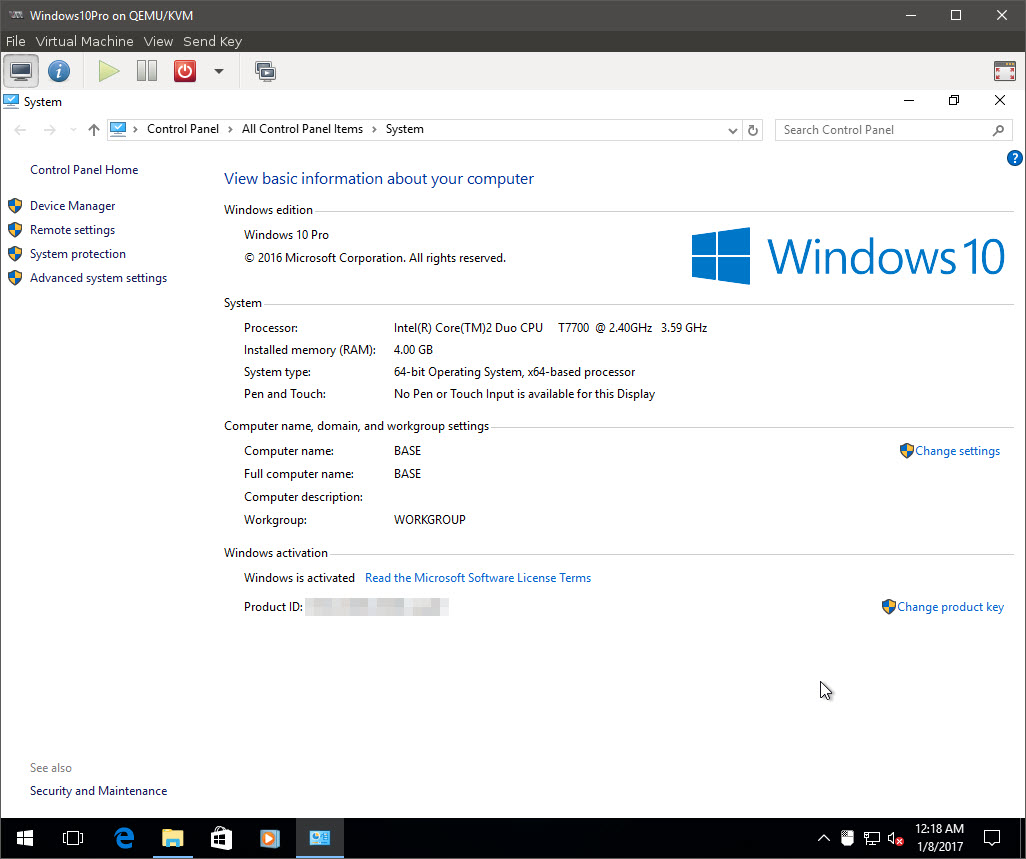
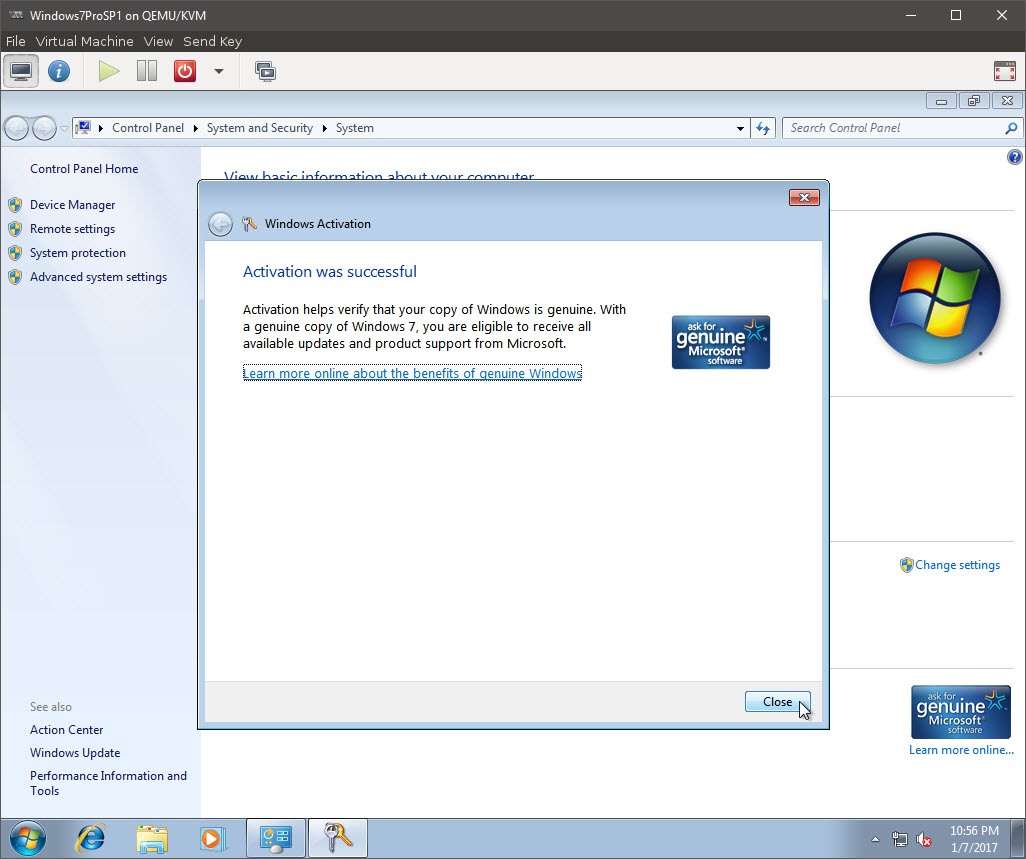
So far, so good… Finishing the entire Windows 7 set-up process, and key activation (via Internet) still works (phew)!
Upgrading to Windows 10…
So, I cloned the VM, renaming it to “Windows 10” in the process (which also involved deleting the virtual HDD hardware, renaming the .qcow2 file, refreshing the storage pool, then re-adding the virtual HDD hardware).
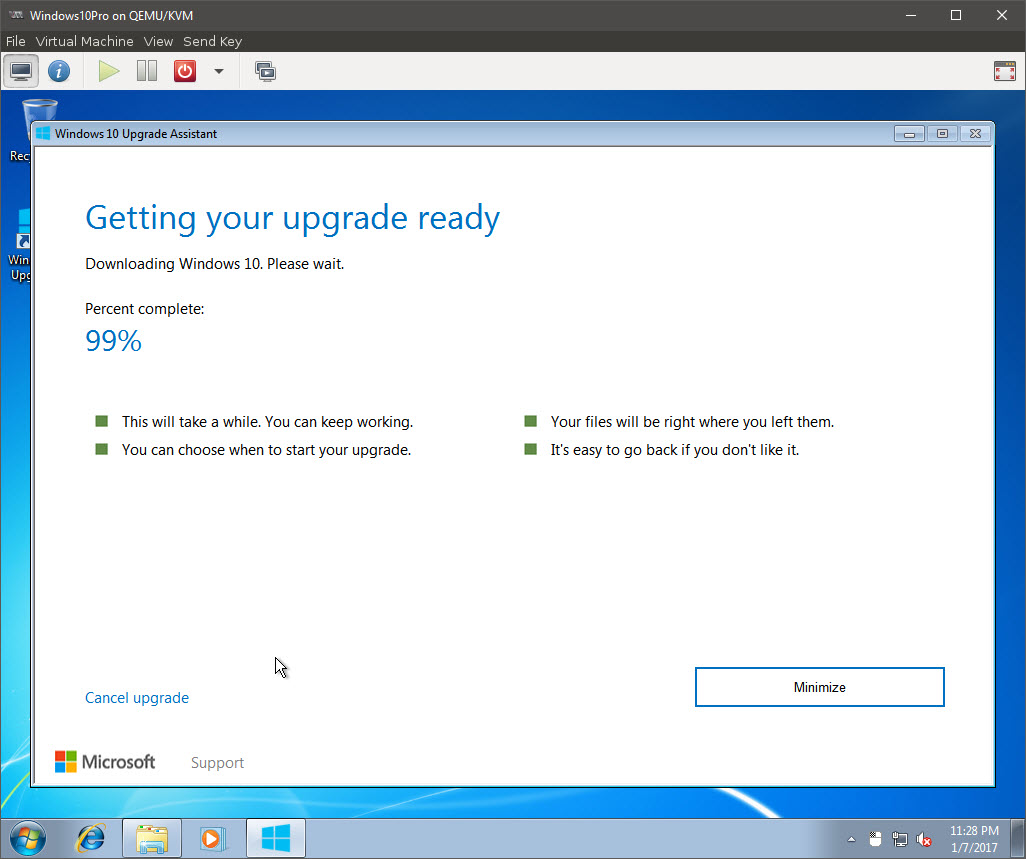
I usually use “Mouse Keys” in remote Windows 7 set-ups (since I use a laptop without a keypad, NUMLOCK is not usually “on” anyway)… As this is an “assistive technology”, this VM was therefore still applicable for a Windows 10 upgrade (at time of writing). So, I pointed my newly installed IE8 browser and pointed it at the Windows 10 Upgrade for Assistive Technology Users site.
Running the downloaded executable brought me to the download, then upgrade screens…
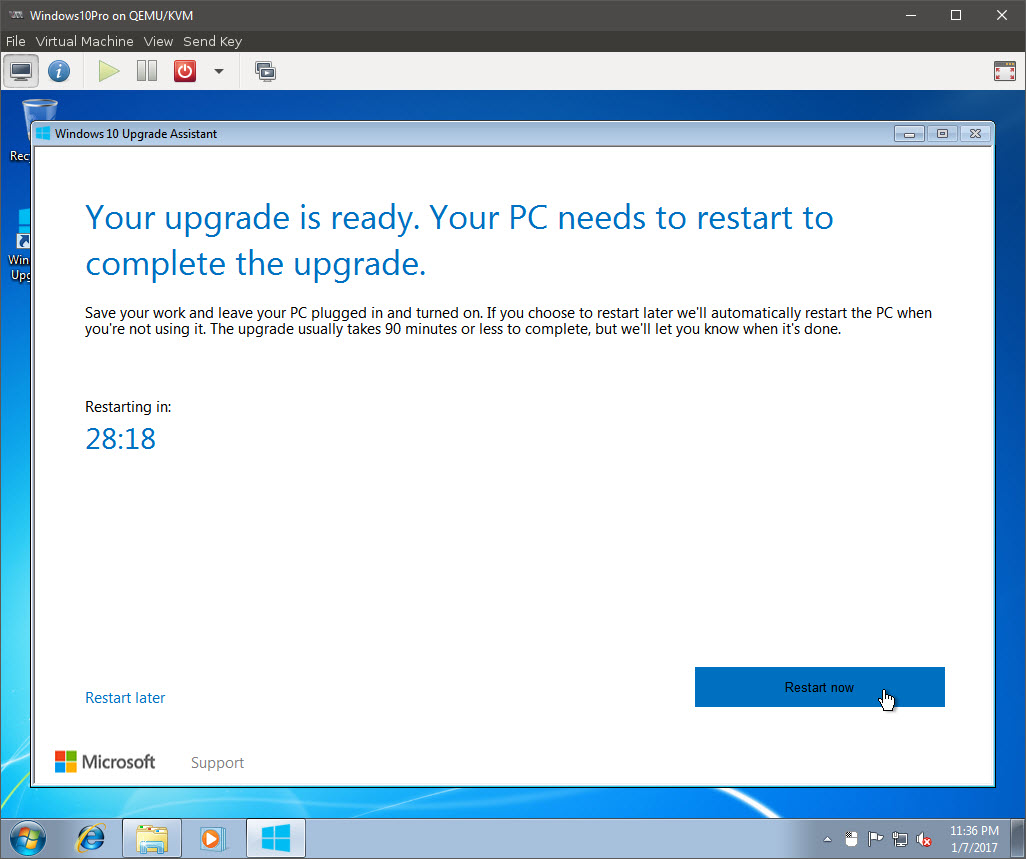
At this point, I select “Restart Later”, then shut down the entire VM.
Snapshots…
Here, I used virt-manager‘s support for qcow2 snapshots and built a snapshot. I then proceeded to edit the .xml file (as discovered).
First Boot, Post Upgrade…
Fingers crossed, with edited .xml in hand, booting the VM shows…
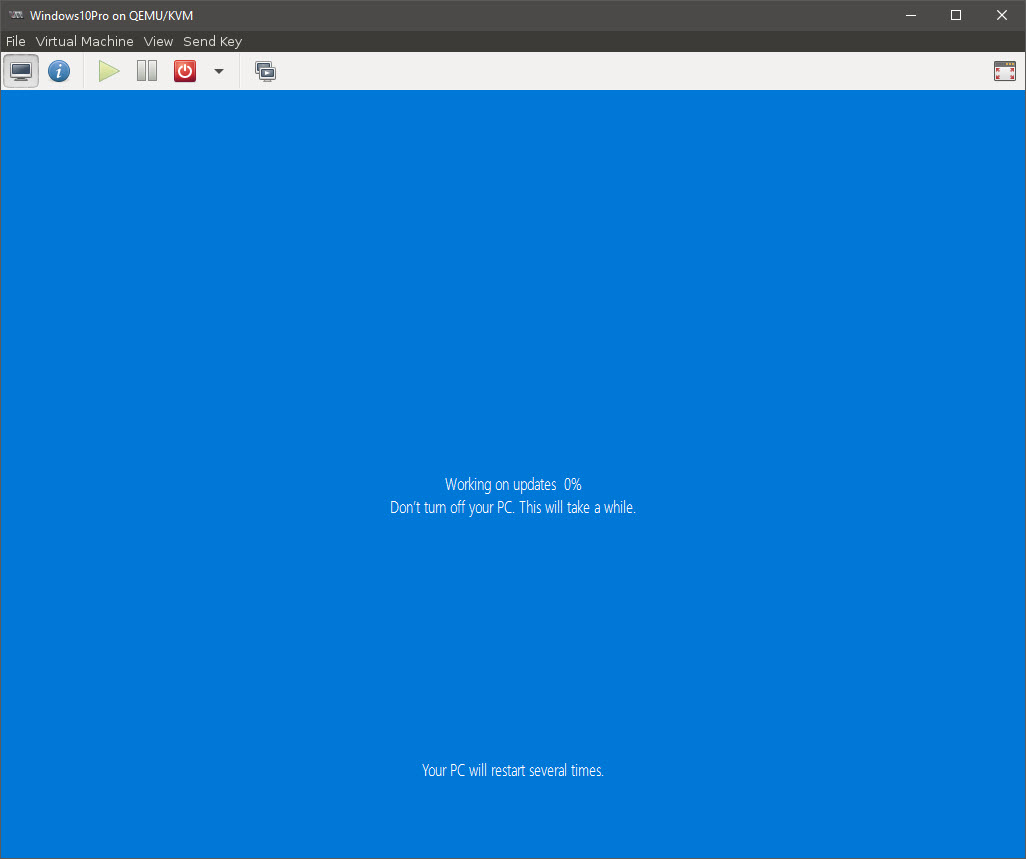
Followed by the nail-biting, upgrade crawl…
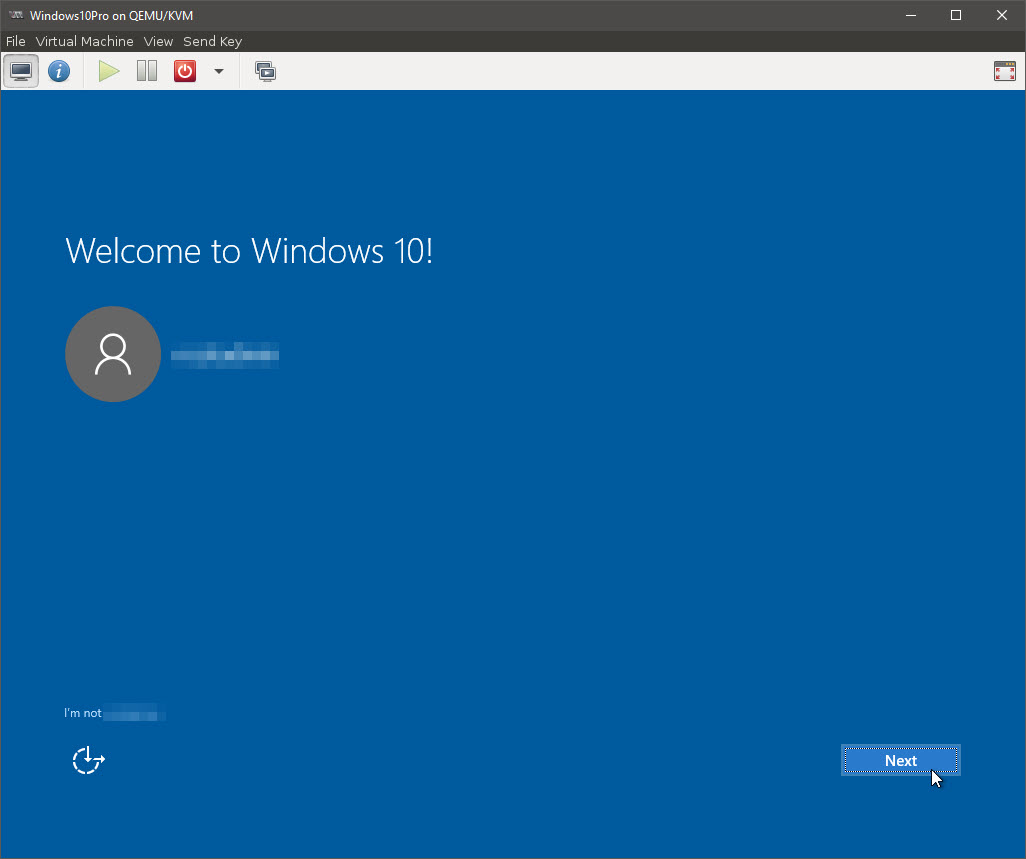
And… Finally… TA DA!