So, attempting to set up a virtual machine on Ubuntu now leaves me some choices (again, which is mostly a good thing).
Attempting to set up a secure Windows environment is never easy. Maybe one of the better/best ways to do this is to simply use VMs and virtualised software…
First, I need virtualisation host software. VMware ESXi and any other hypervisors are out of the question, because we already have an OS. Besides, despite being comfortable with ESXi (and also have somewhat generous “limits” on their “free” version from v5.5 and up), ESXi is pretty strict in terms of supported hardware.
Having looked at some of the “popular” ones out there, including Oracle’s VirtualBox, Citrix’s Xen, and Red Hat’s KVM (not to be confused with the common abbreviation KVM), I finally decided on KVM.
Even with VirtualBox’s ability to use “integrated mode“, I still believe that having low-level integration with the kernel and open source is more important than reliance on a specific kernel version (note: linked search only shows results from past year to show “current” reported issues as at time of search).
VirtualBox
Just a side note for those that still wish to use VirtualBox: I was originally searching for a “good” guide and found this “original” article, but realised that the correct approach (i.e. not polluting the main apt-repository list) should be followed.
wget -q -O - http://download.virtualbox.org/virtualbox/debian/oracle_vbox_2016.asc | apt-key add -
sudo sh -c 'echo "deb http://download.virtualbox.org/virtualbox/debian xenial non-free contrib" >> /etc/apt/sources.list.d/virtualbox.org.list'
KVM
I stumbled across (Googled across?) a rather complete guide for KVM on Ubuntu LTS 16.04, inclusive of the necessary network bridge setup pre-requisite.
Bonding and Bridging
Due to my use of an LACP/802.13ad aggregated connection, I now have to ensure that a bridge is created (as per the linked article):
apt-get install bridge-utils
brctl addbr br0
brctl addif br0 bond0
Since I had the “special” set up for the bonded connection, I needed to edit my /etc/network/interfaces file like so:
# This file describes the network interfaces available on your system
# and how to activate them. For more information, see interfaces(5).

source /etc/network/interfaces.d/*

# The loopback network interface
auto lo
iface lo inet loopback

# Intel Wireless N 2230
#allow wlp4s0
#iface wlp4s0 inet dhcp
#pre-up /etc/init.d/wpa.sh start
#pre-down /etc/init.d/wpa.sh stop

##############################################
# Channel bonding eno1 and enp3s0 interfaces #
##############################################

# set up bond0
auto bond0
iface bond0 inet manual
        hwaddress <MAC address of the "primary" NIC>
        pre-up modprobe bonding mode=802.3ad miimon=100 xmit_hash_policy=layer2+3 lacp-rate=fast
        pre-up ifconfig bond0 up
        pre-up ip link set eno1 master bond0
        pre-up ip link set enp3s0 master bond0
        up /bin/true
        down /bin/true
        post-down ip link set eno1 nomaster
        post-down ip link set enp3s0 nomaster
        post-down ifconfig bond0 down
        post-down rmmod bonding

###########################################
# Bridge for bond0 and KVM virtual switch #
###########################################

auto br0
iface br0 inet dhcp
bridge_ports bond0
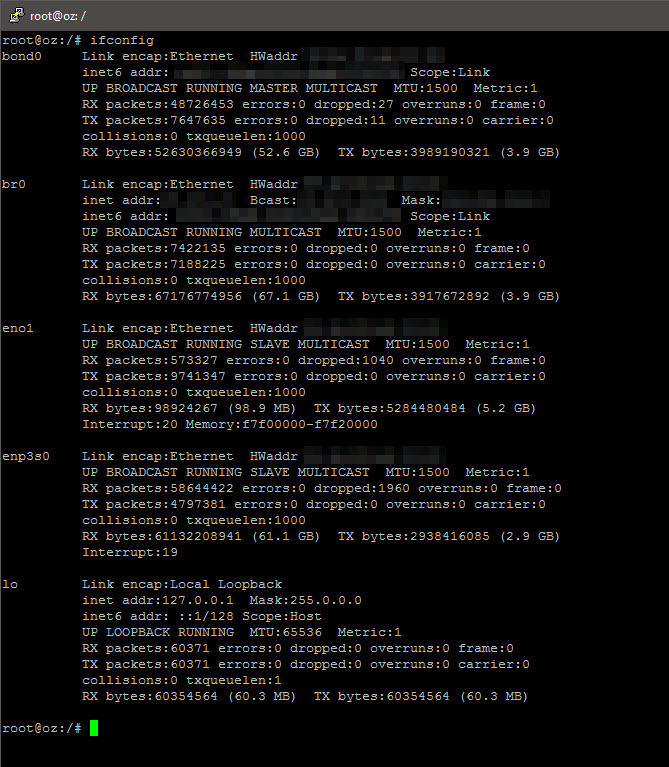
And restarting the networking service worked:
systemctl daemon-reload
systemctl restart networking
ifconfig
Installing KVM
2025/01/01 Update: There is an updated guide specific to installing QEMU+KVM here – do use that instead!
Continuing with the guide, I then proceeded to install KVM itself:
apt-get install qemu-kvm libvirt-bin virt-manager
usermod -G libvirtd <user to be given KVM management rights>
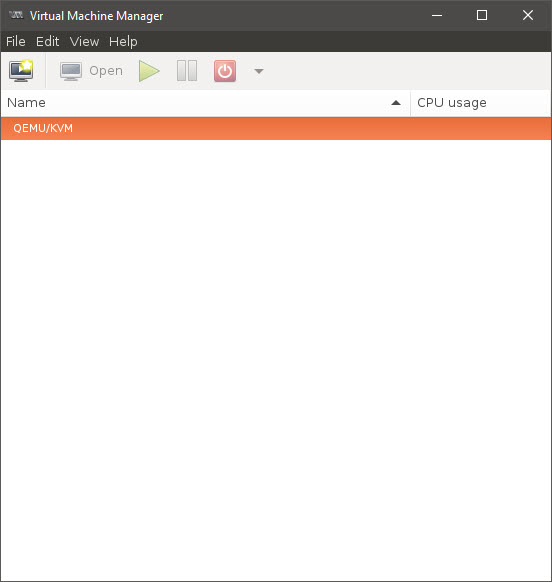
Running virt-manager as a user with libvirtd group membership showed the virtual management “console” in X!
Setting KVM Up
As I had already created a “space” for my VMs on my ZFS pool (specifically, a separate dataset), I used that:
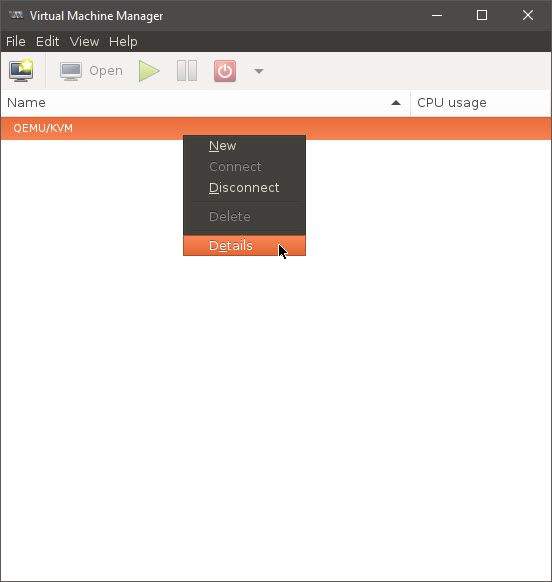
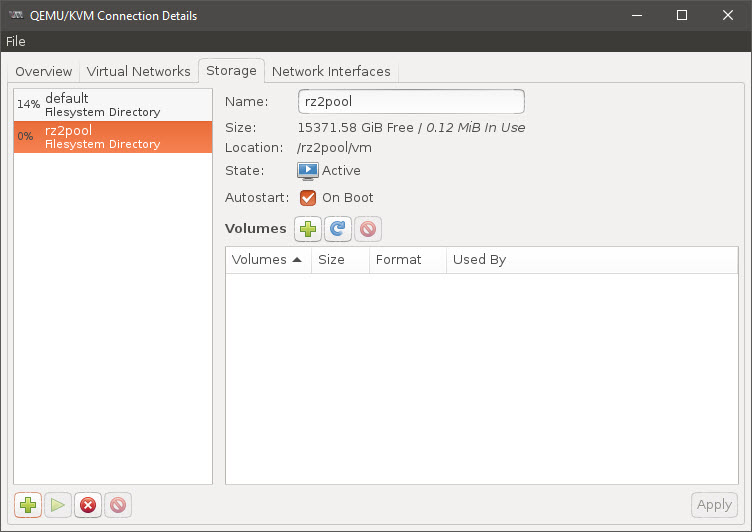
- right-click on the “default” QEMU/KVM
- select “Details”
- in the resulting window, select the “Storage” tab, then click on the “+” icon at the lower left
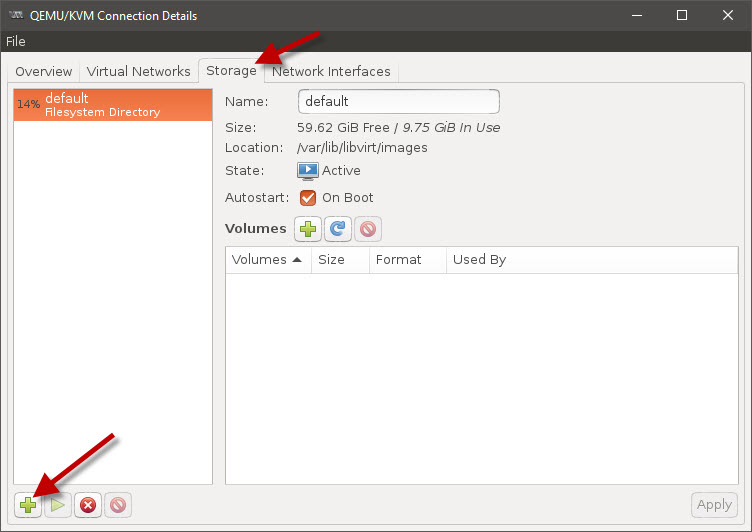
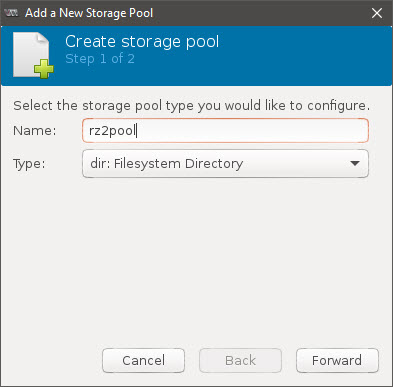
- enter a “storage pool” name, selecting “dir: Filesystem Directory” as the “Type”.
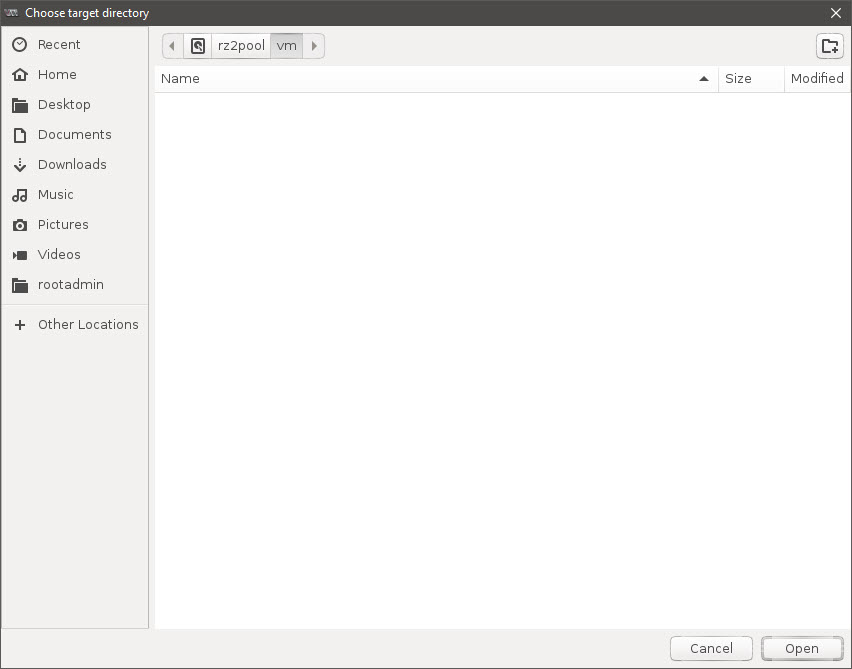
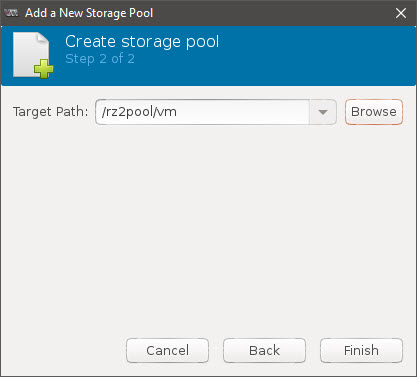
- and select the correct path, followed by “Open”
- then click “Finish”
- you now have a new storage pool!
Bridging the Gap
By default, the setup installs a virtual network that relies on NAT to connect the VMs to the outside world. Since I prefer to have some VMs to be able to talk to the LAN “directly” (instead of through NAT) and being more familiar with VMware products, I thought I had to create a virtual network switch to be part of the br0 bridge (created above), but searching online did not seem to turn anything up.
I finally figured (by attempting to create a “dummy” VM using an empty, non-valid 0-byte ISO) that I could directly assign the br0 interface to a VM/virtual NIC, effectively bypassing the entire requirement for a separate vSwitch.
So, onwards to the first VM!
