So, I tried to install Ubuntu Server 16.04.1 LTS while the machine was not plugged into the network, and also did not bother to connect to the WiFi network during the installation from the CD either…
Rusty from last Linux use (circa 2008), I was totally stuck thereafter – no network and no way to add anything else (through the network, because, you know, no network)… Fortunately, SSHd was selected during the installation – so all I had to do was to get the network up, then I could try and do every other thing remotely (well, that is the theory)…
Just in case you really do not have an Internet connection (say, the Ubuntu distribution does not have your NIC drivers), you can then try any of the “offline” methods described here.
Documented, as follows, is my journey to “get unstuck” and continue the set-up…
Making the Network Work…
Google to the rescue!
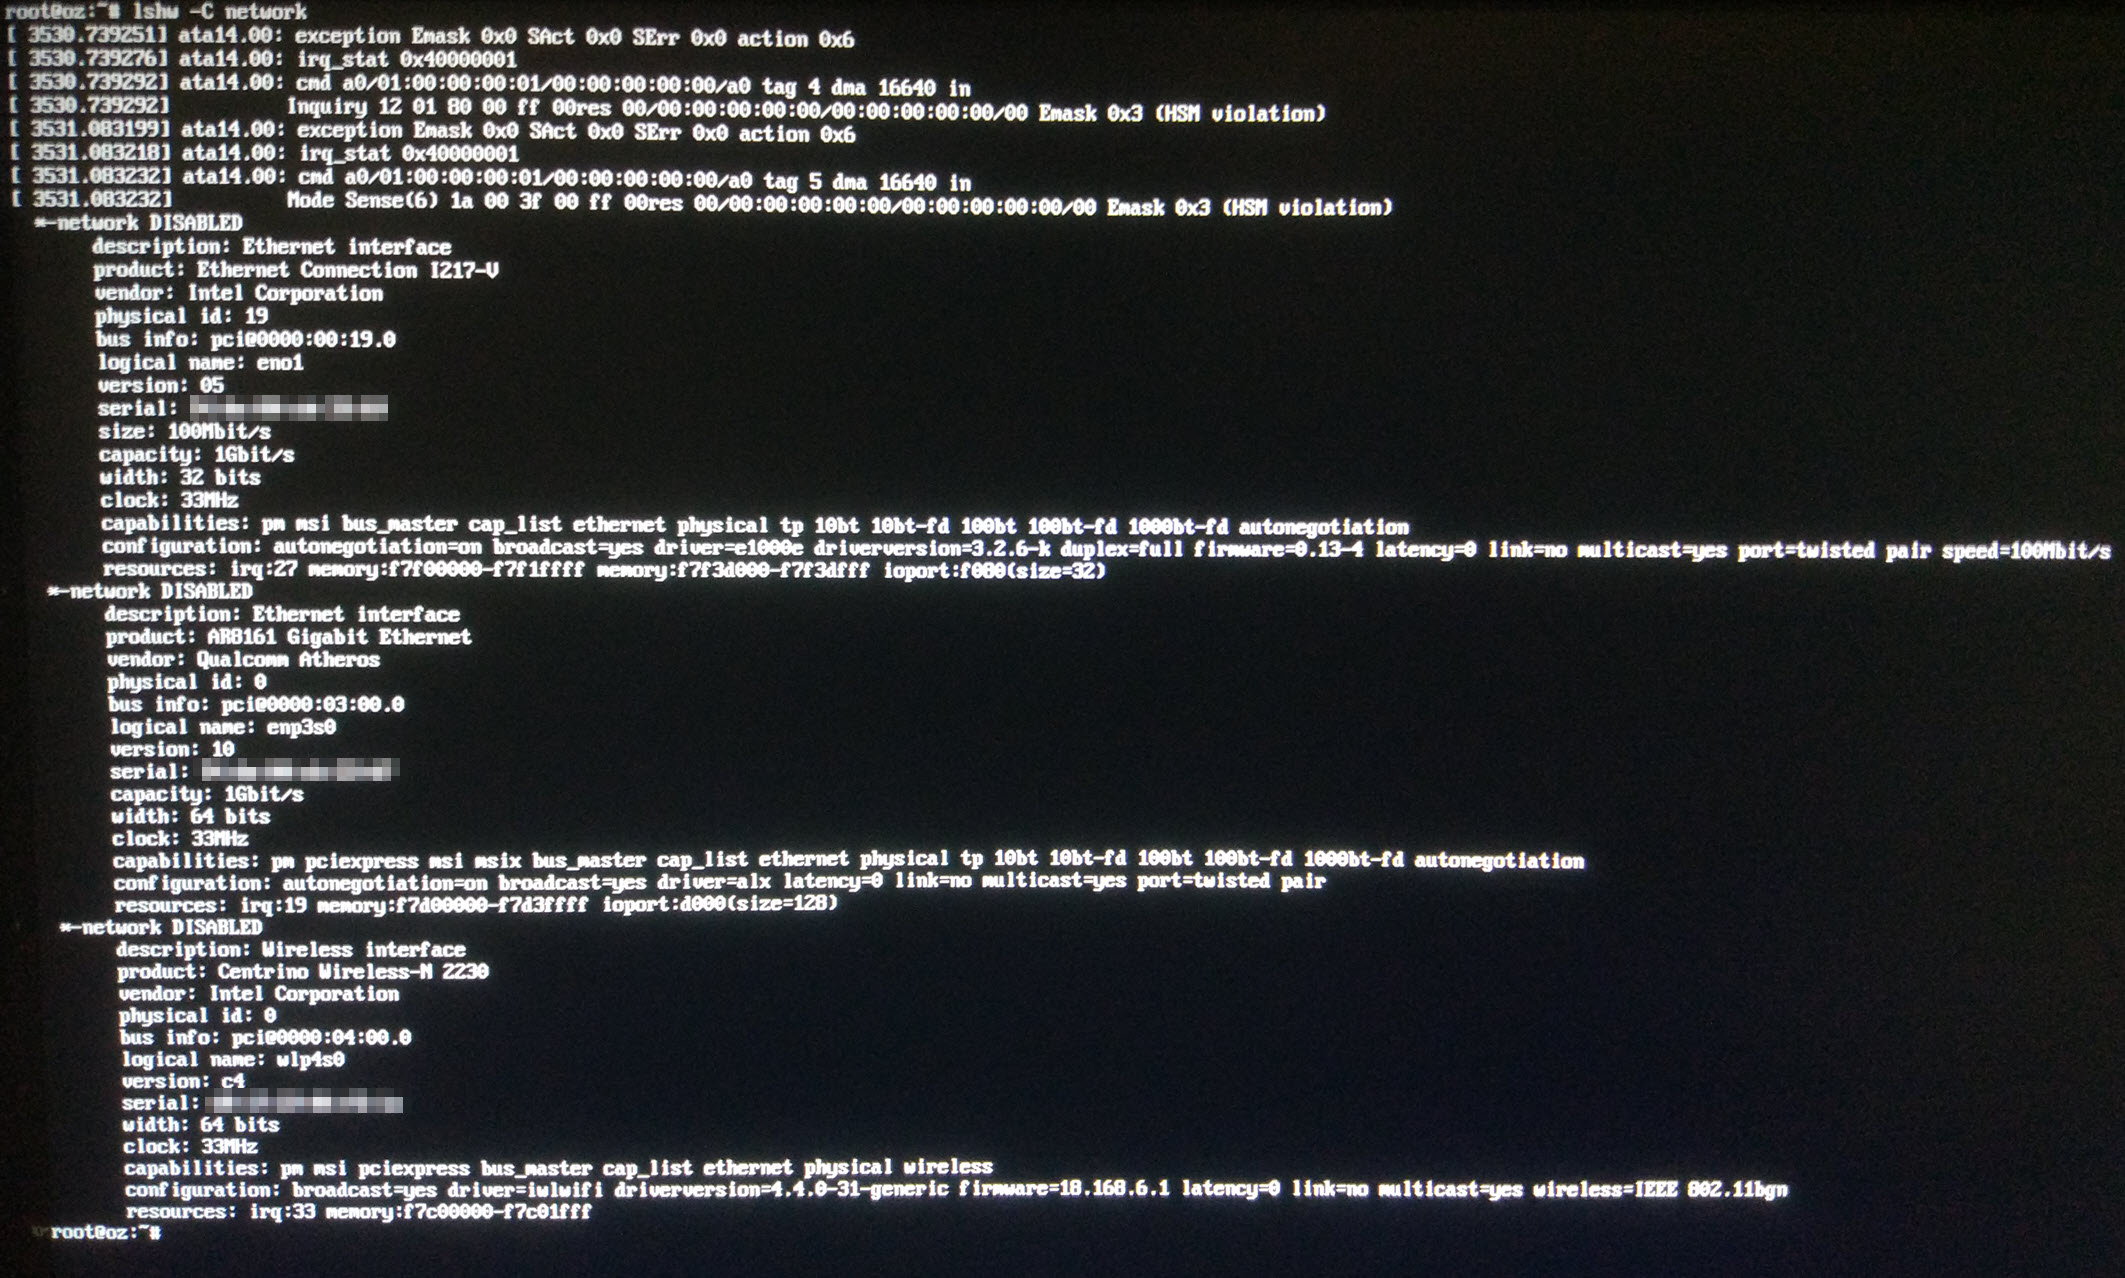
Referencing sites like this and this, I figured that (fortunately) the CD installer already detected and loaded drivers for my network interface “cards” (well, to be pedantic, the WiFi is not officially a “card”, considering it is part of my motherboard).
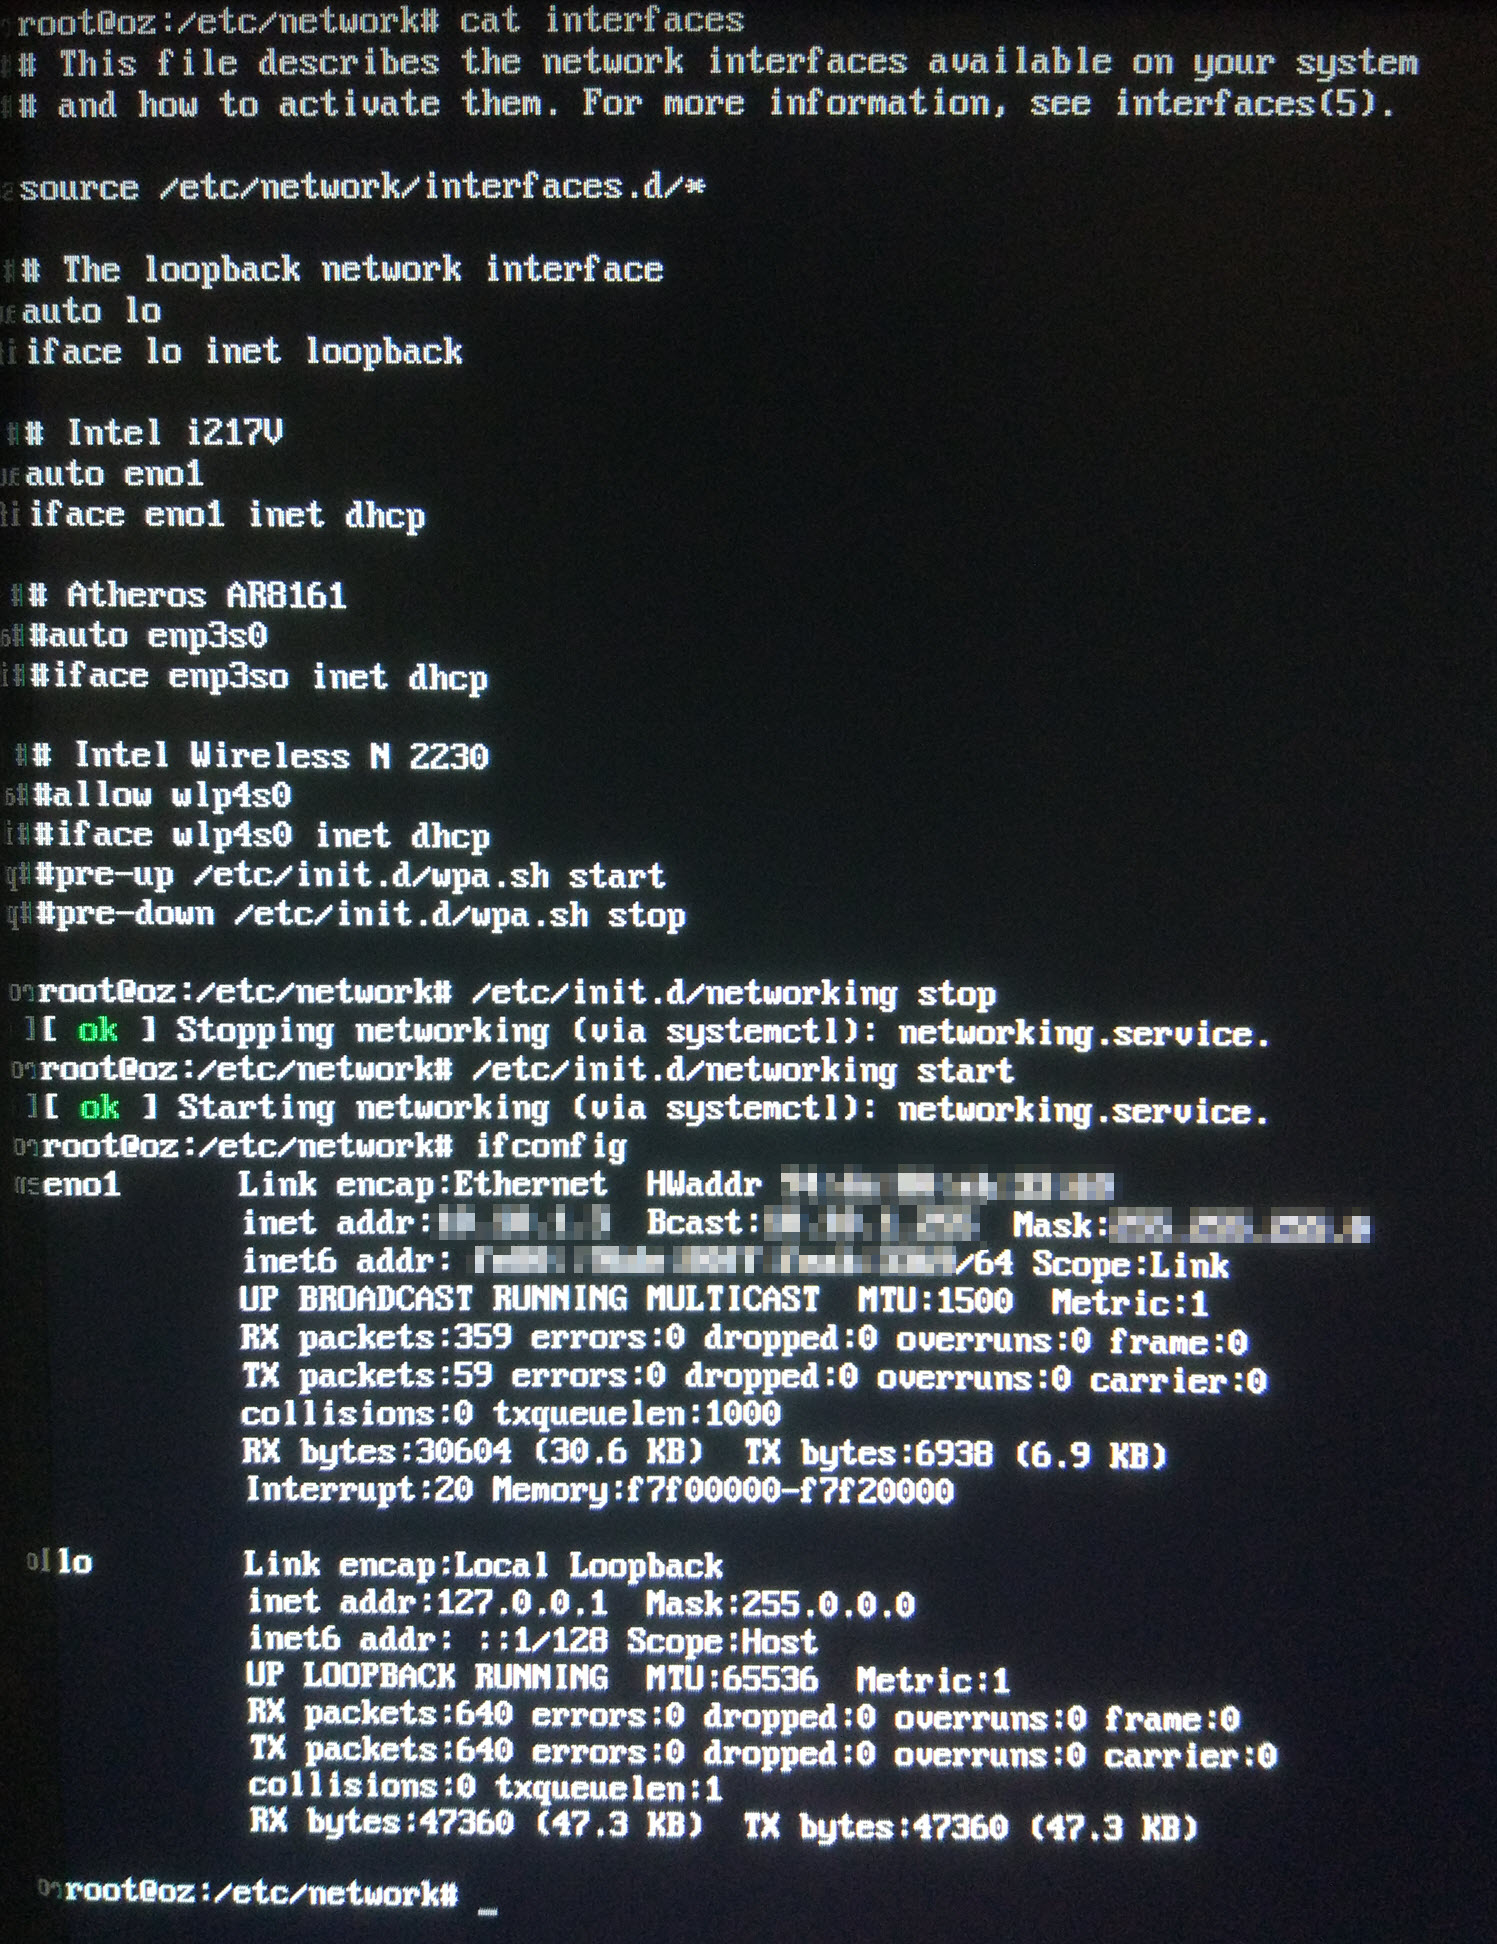
Looking at what network interfaces the system knows about:
lshw -C network
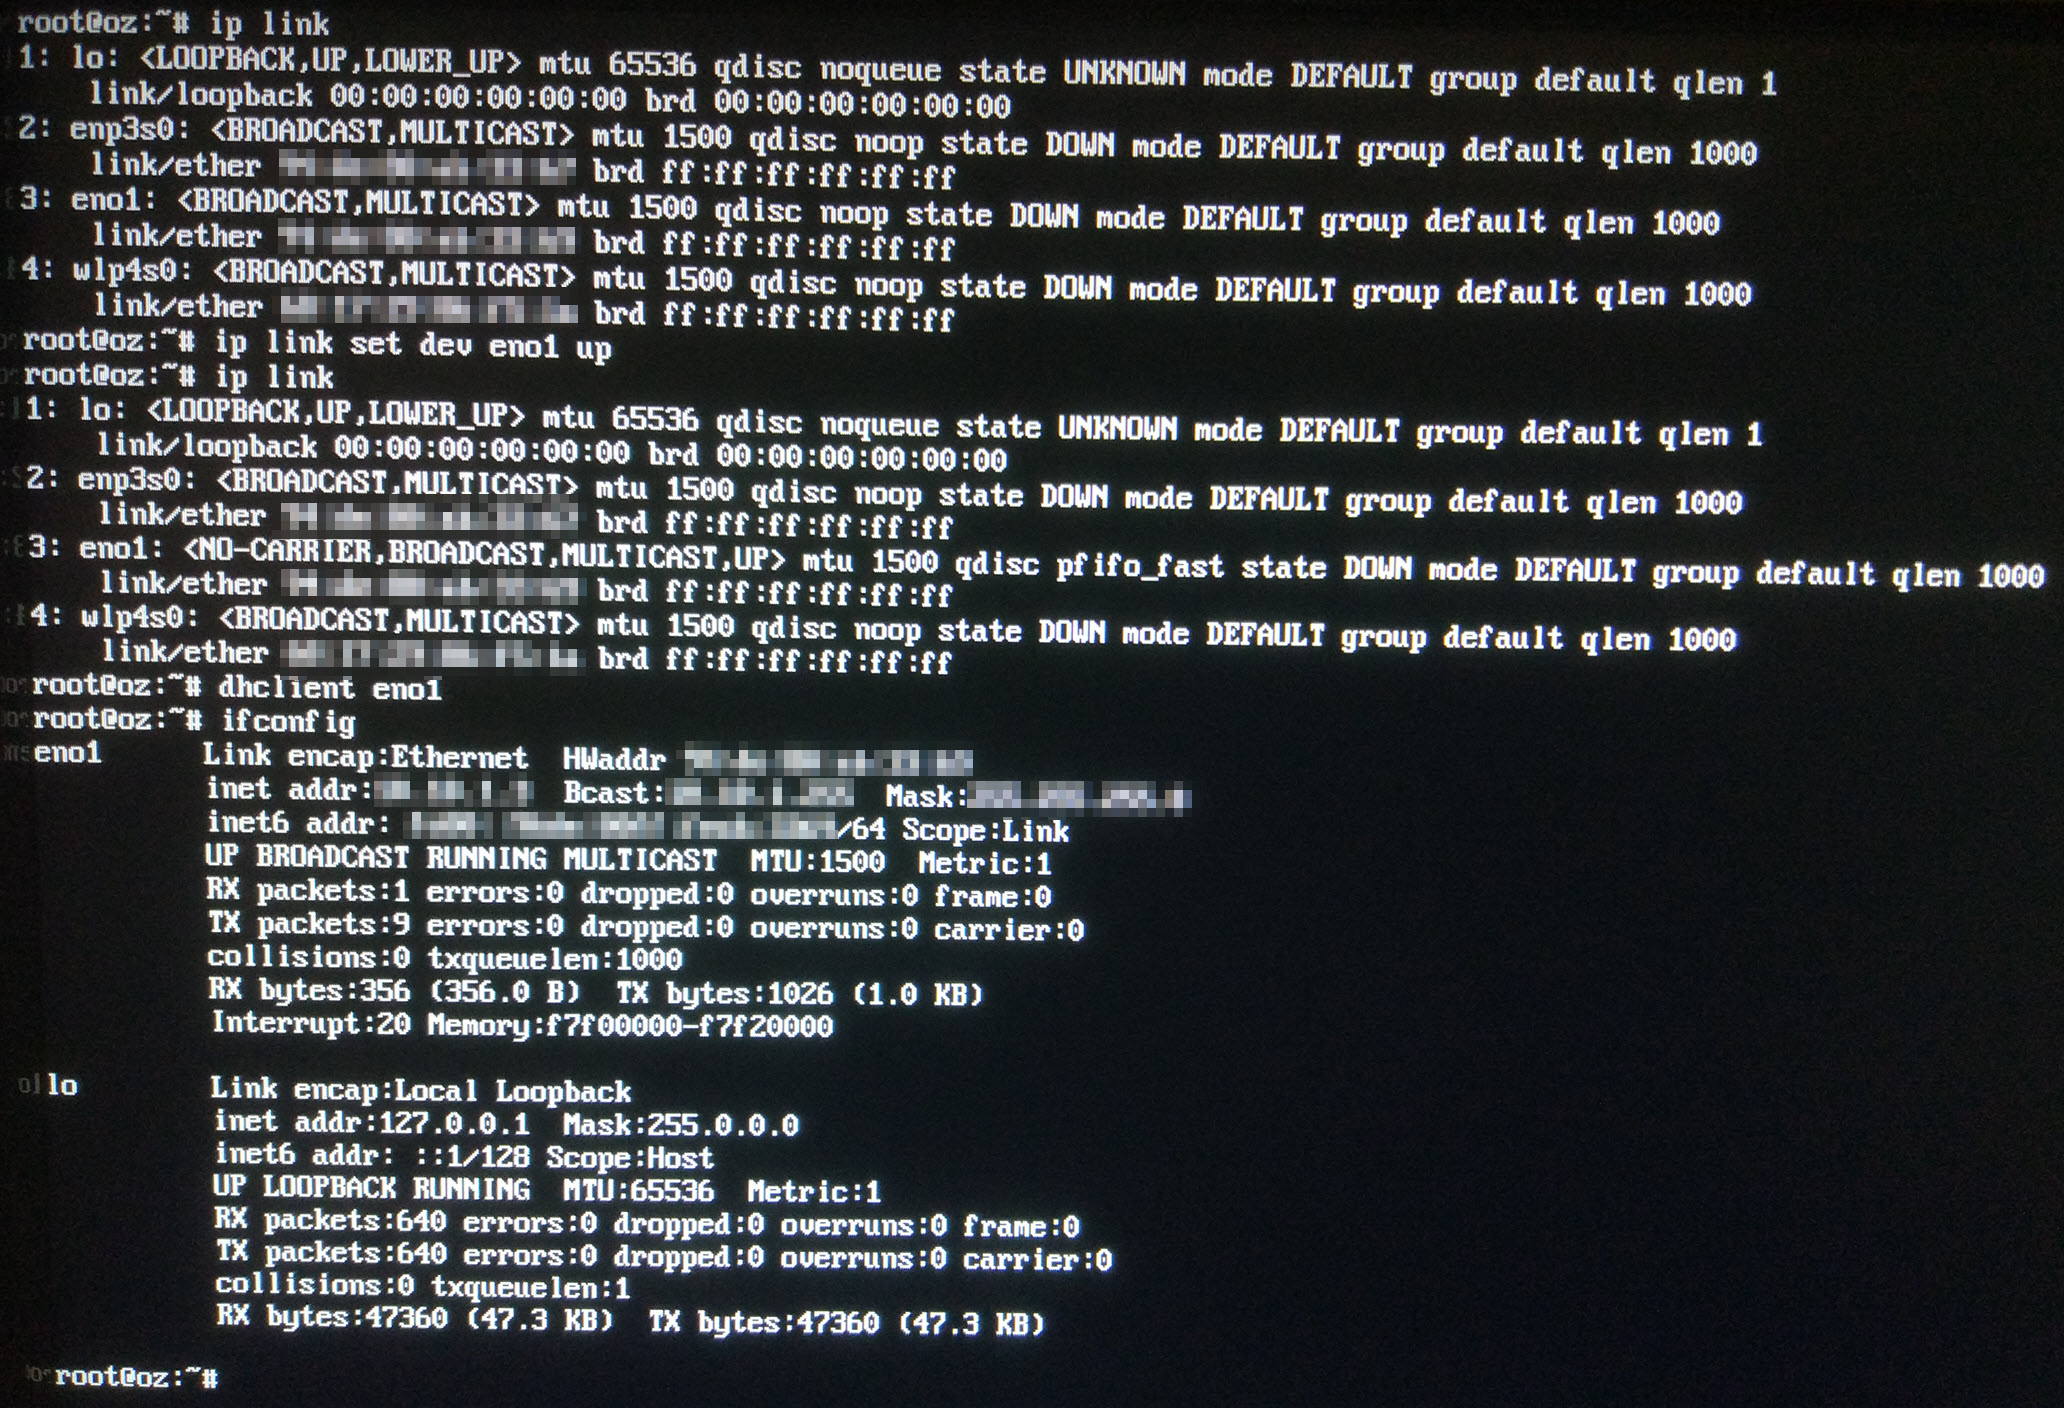
Knowing the network cable is plugged into my on-board Intel NIC (logical device name “eno1”), I bring the link up then sic the DHCP client on it:
ip link set dev eno1 up
dhclient eno1
With this now working, I then need ensure it is started automatically, by editing the /etc/network/interfaces file:
auto eno1
iface eno1 inet dhcp
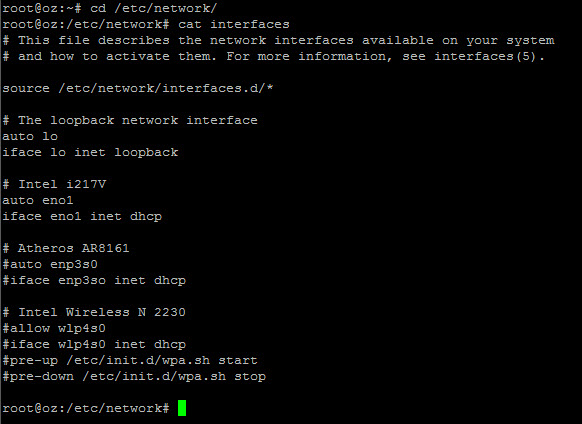
Then restarting the networking service
/etc/init.d/networking stop
/etc/init.d/networking start
ifconfig
Checking that the IPv4 network works:
ping <router address>
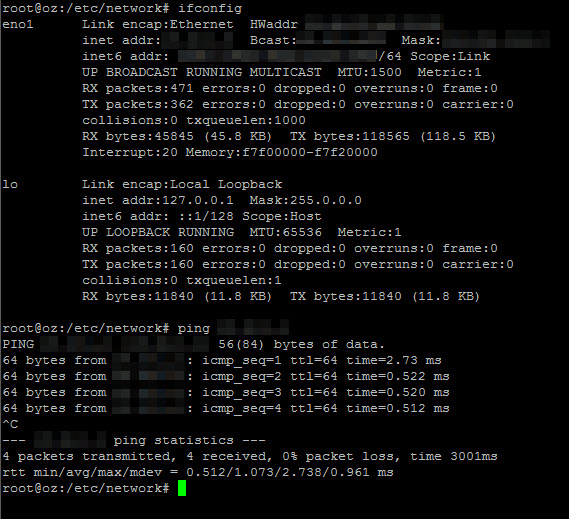
So, I can now SSH into my my box!
2016/10/27 Update: As I had a motherboard that had two NICs, I decided to set up both as an aggregated link (LACP/802.13ad); further steps required are as found in the linked article.
2016/12/23 Update: Having to create a bridged network interface for the purposes of linking a KVM virtual switch, I had to make further updates to the configuration. Check out the other changes here.
Make It Do More…
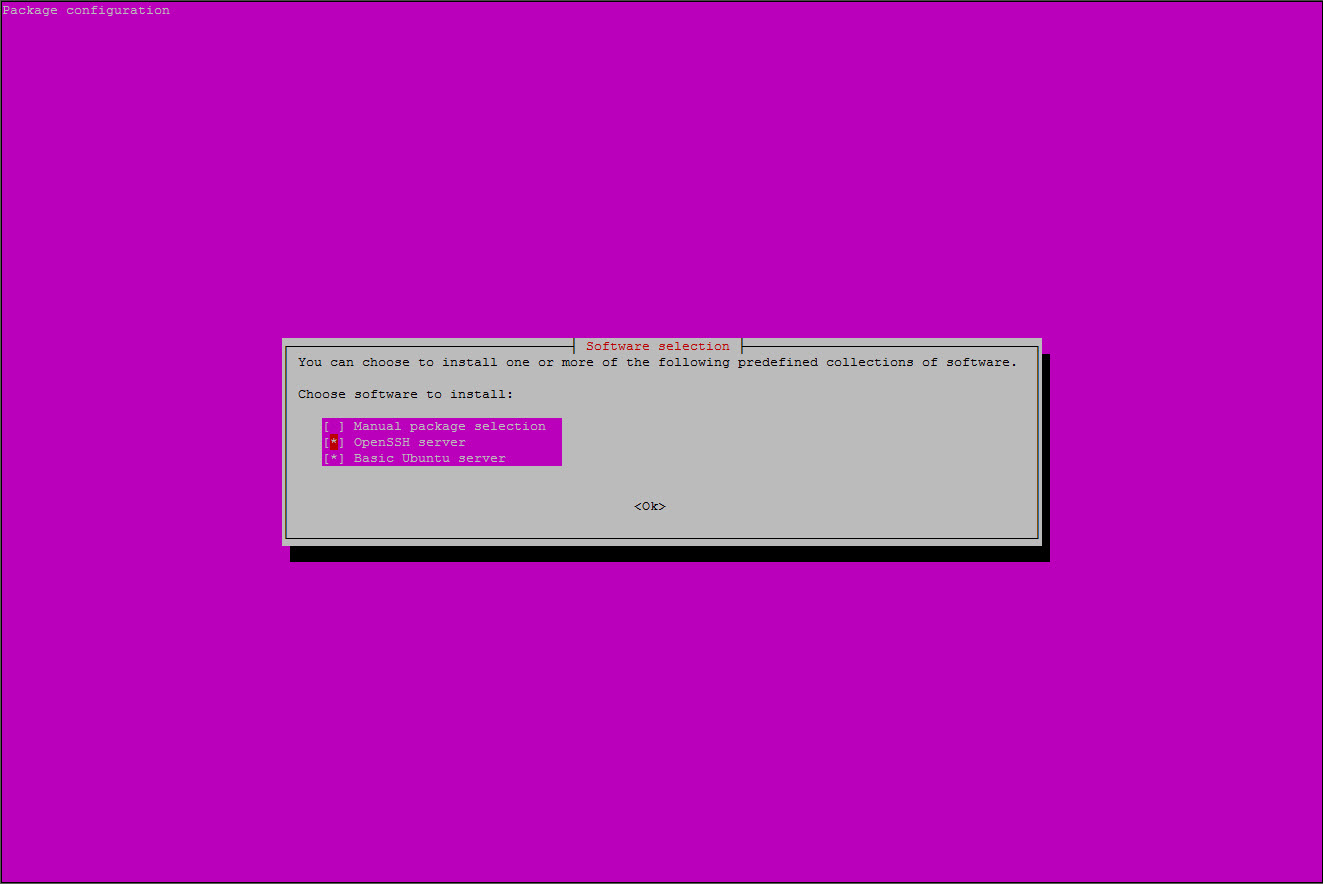
OK, so the box is now sitting there, SSHd enabled, but basically still no X Windows, no SAMBA/SMB server… nada… So, seeing that “pretty” (pink) screen allowing me to install packages by task, I now need to get that up and running (again)…
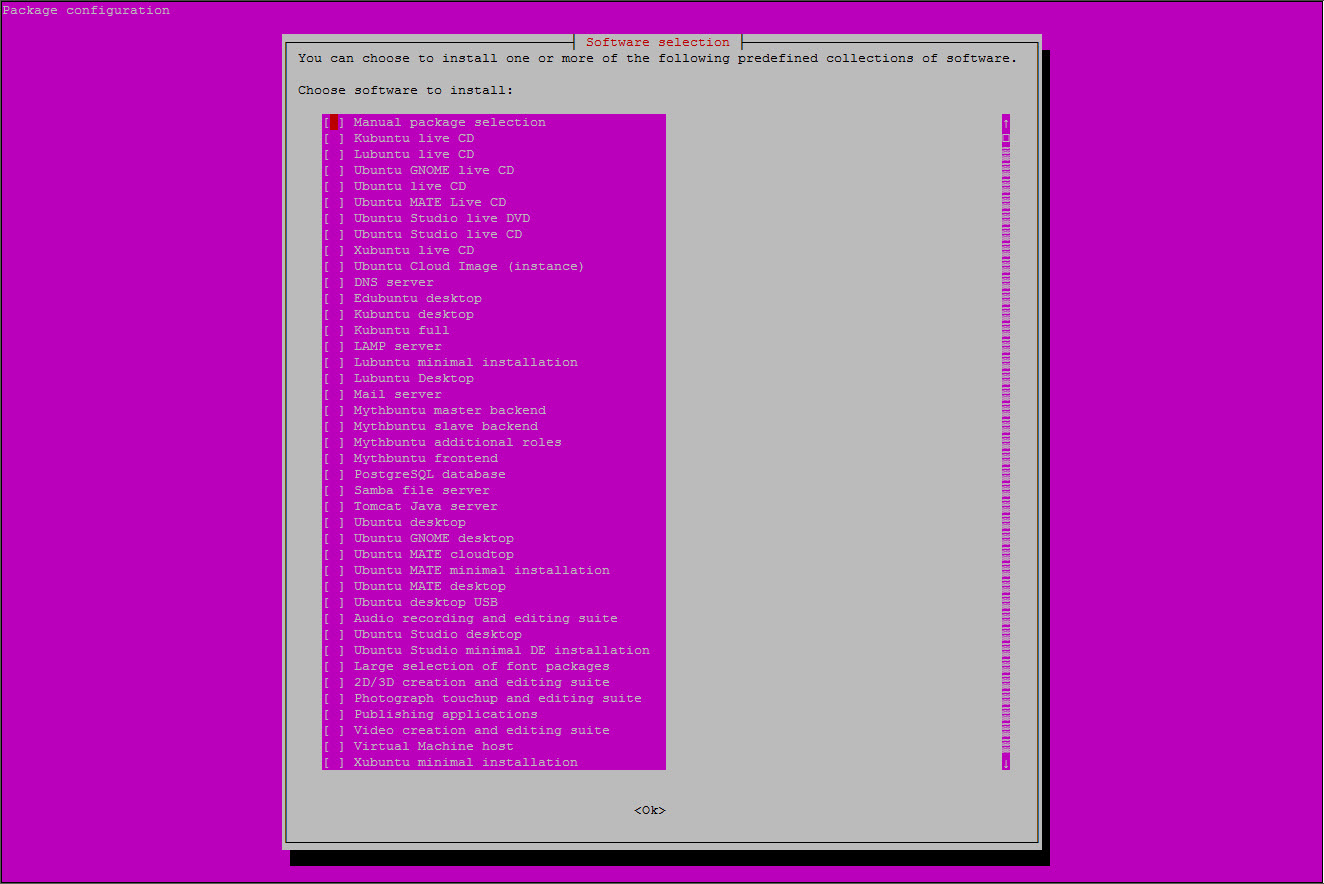
Remembering the “tasksel” command, I tried that with the “manual” selection but got an error instead
tasksel
![]()
Googling that got me this… So I tried checking out the packages:
grep Task /usr/share/tasksel/descs/ubuntu-tasks.desc

However, attempting to tasksel <anything> would fail… So, I discovered that I needed to update the apt repository:
apt-get update
This is followed by a full update to all packages:
apt full-upgrade
Now, running tasksel shows me the full list (which is equivalent to what I saw on a “trial” install from CD which was updated from the Internet during installation):
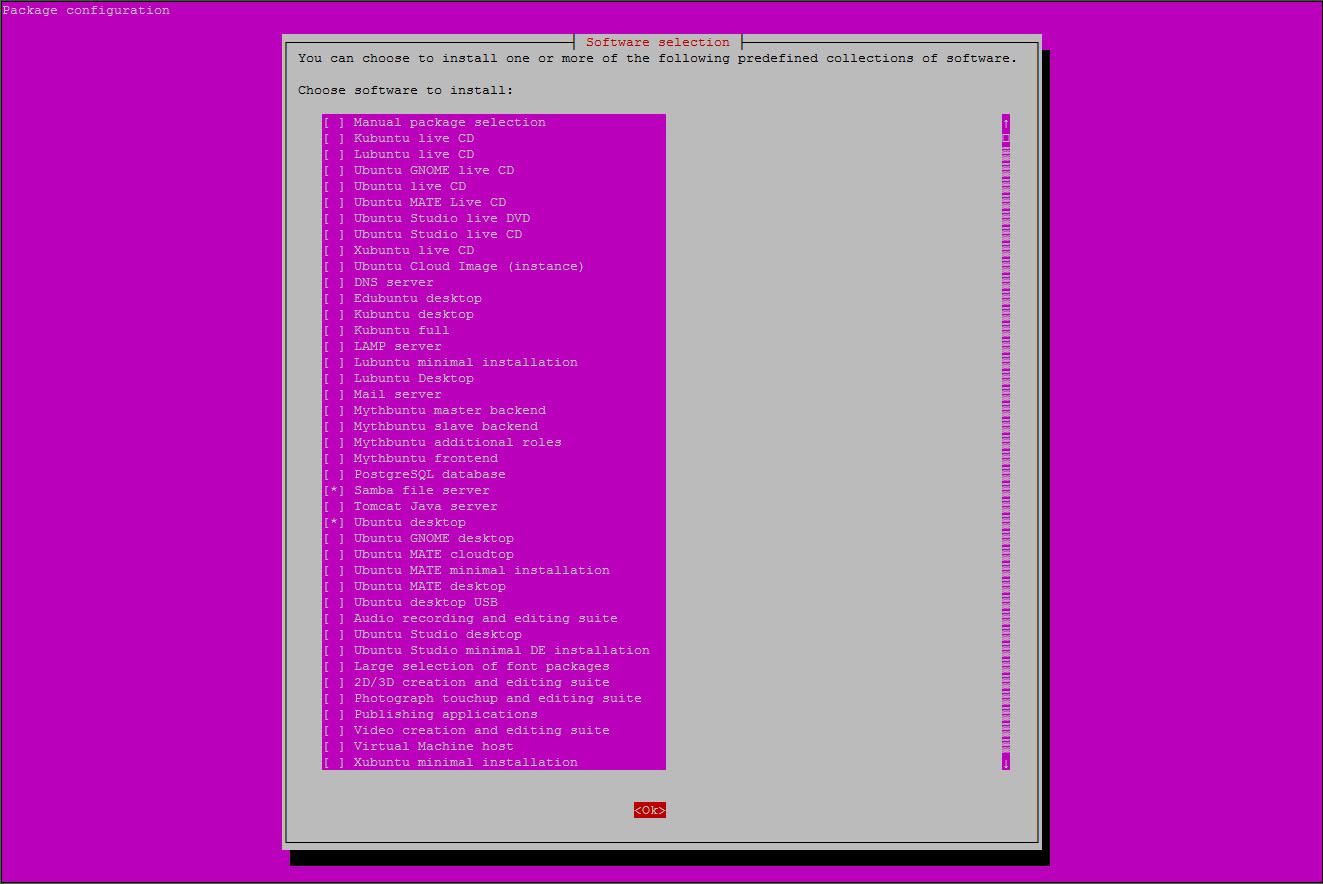
So, selecting the “Samba file server” and “Ubuntu desktop” packages, it is off to the races:
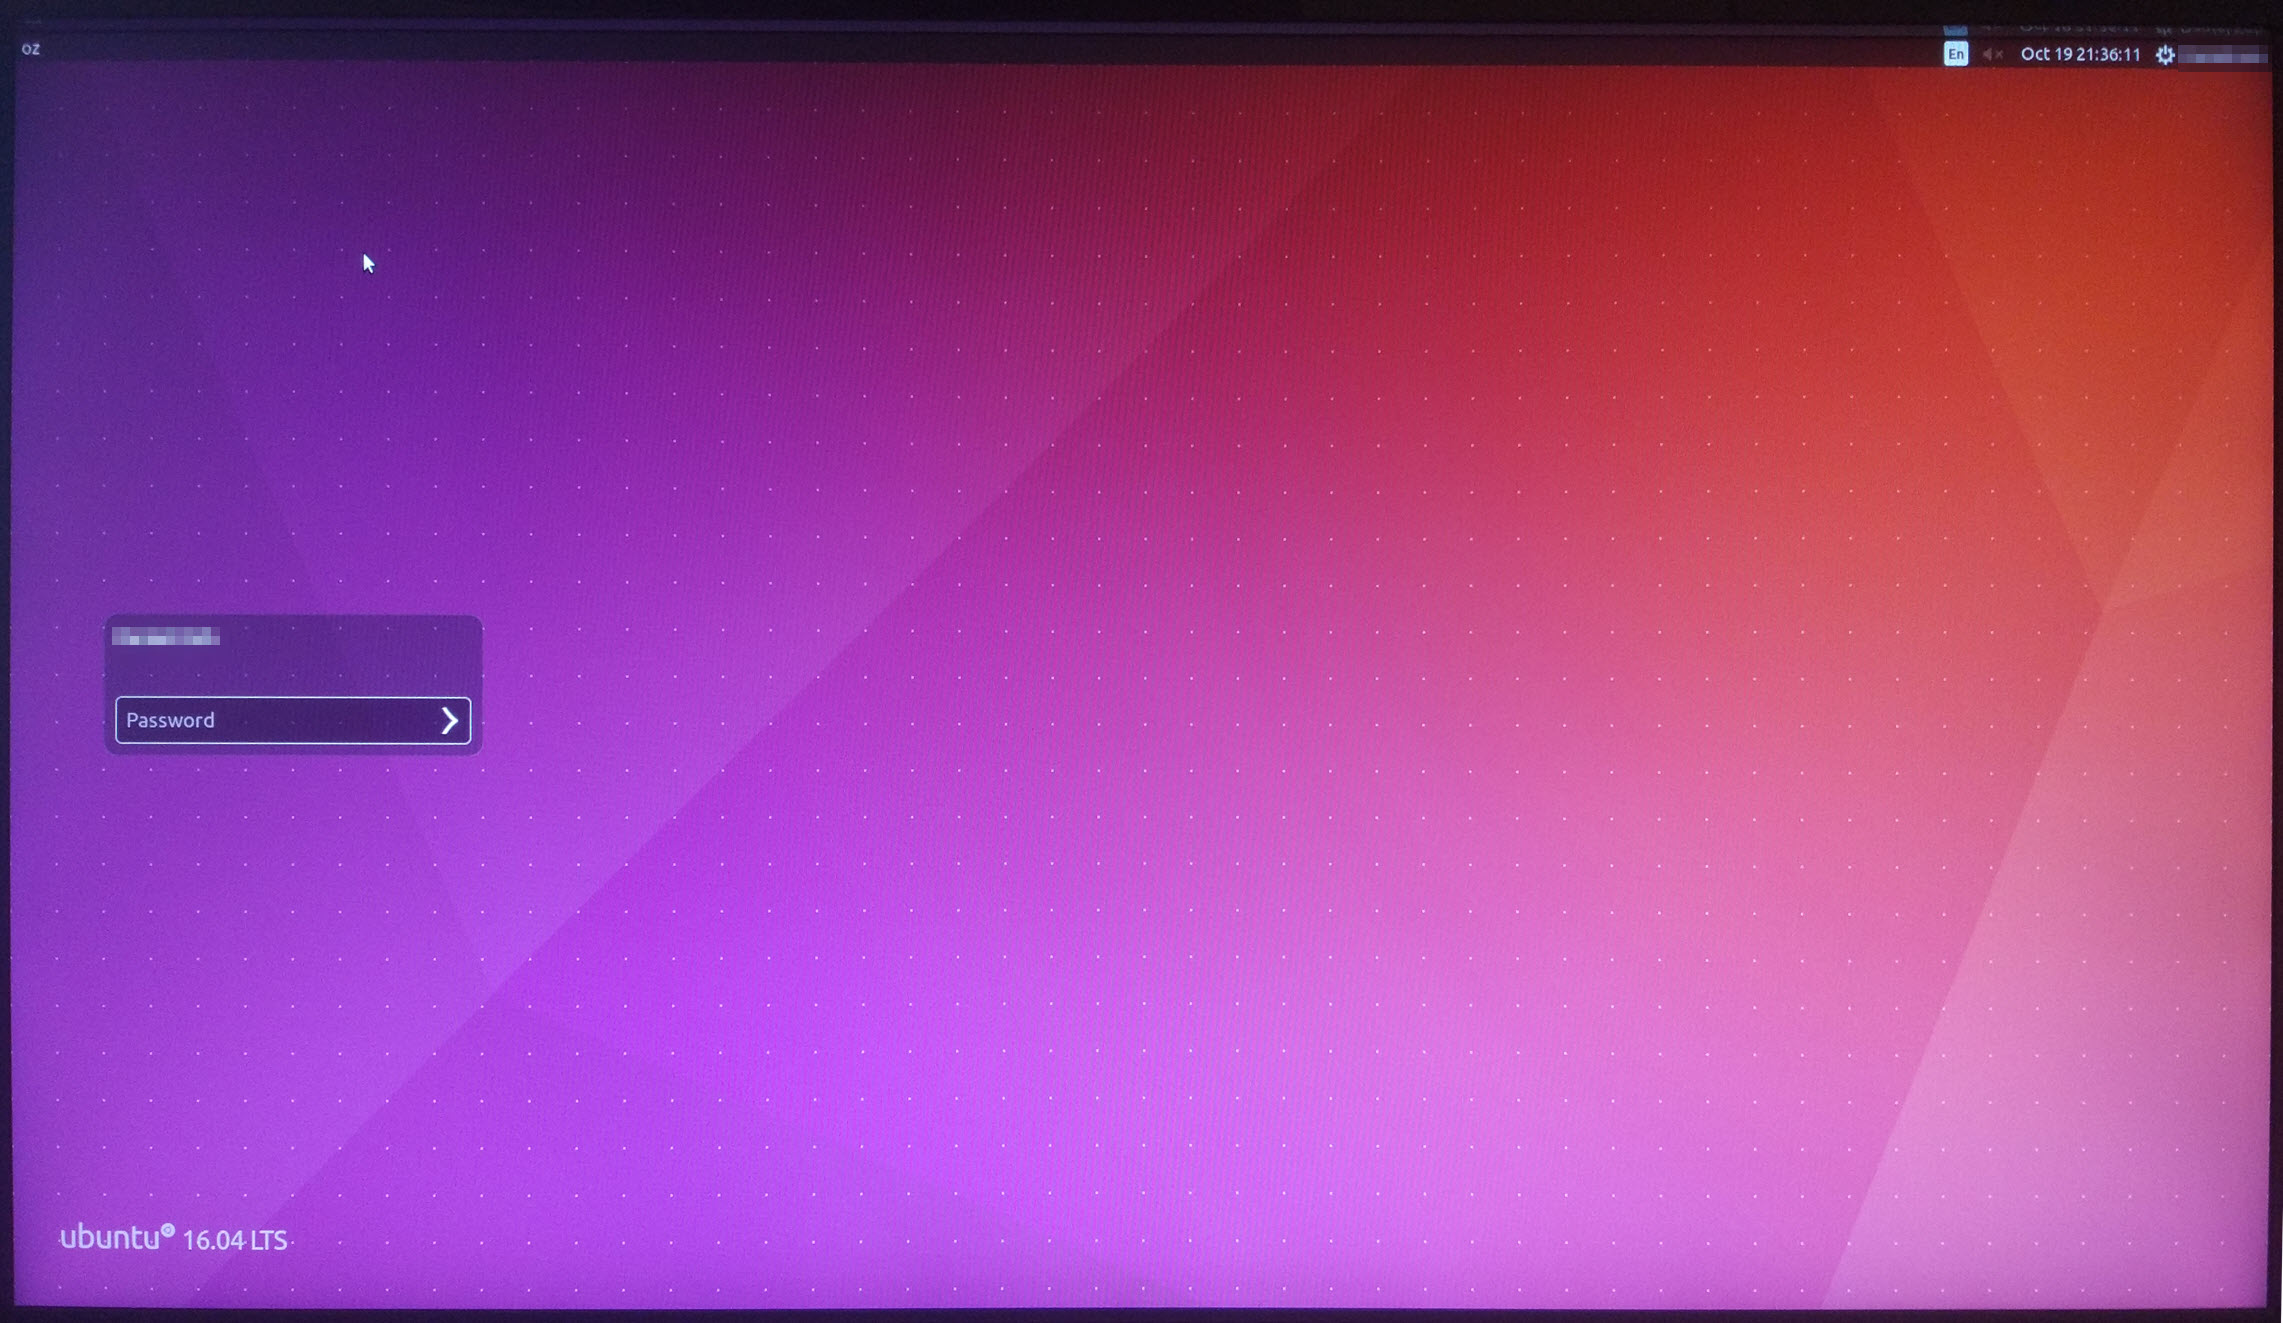
Rebooting, I now get the full GUI (ubuntu-desktop package):
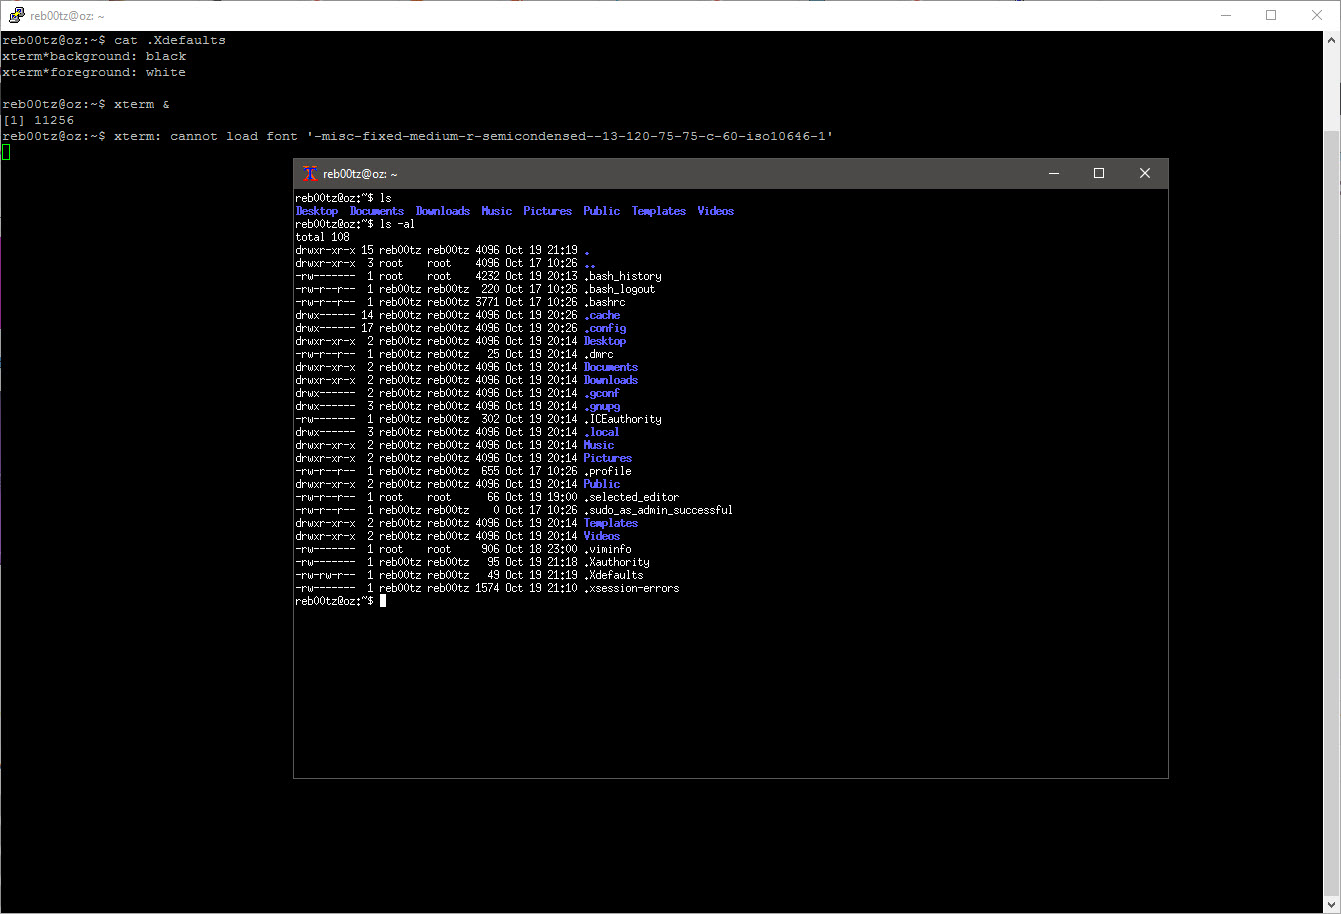
And forwarding X11 through an SSH2 tunnel via PuTTY also works (using Xming as my X Windows server on Windows 10):
OK, so now that I have a working (if not necessarily secured) Ubuntu server set-up that may be remotely managed, it is time to set it up properly as a RAIDZ2 file server…
The adventure continues!
